Initial setup
Info
If you have purchased Filesight with our managed option, you should have received an email with the instructions to get started with Filesight, which will be already configured for you.
The following instructions are applicable to "Cloud Provider Installations" only and are valid for all cloud providers supported by Filesight.
Administrative user setup
When your Filesight instance has been provisioned, you should be able to access the instance with SSH (the exact procedure depends on your cloud provider).
Once logged in, you can proceed to the creation of the first administrative user. To do so, issue the following command in the terminal:
The guided procedure will let you create an administrative user that you'll use in the web interface.
Once the user has been created, you can close the shell and open a web browser, entering the public IP of your instance. You should be able to access the login interface of Filesight and proceed to log in with your administrative user credentials.
Storage setup
The most important setting you should take care of after Filesight installation is storage setup, which will control where the files you want to share are saved.
To control storage options, navigate to the "Settings" menu using the left menu bar, and choose the "Storage" tab.
You will be able to select the backend used for file storage:
- "Local (disk storage)": the local storage of your instance will be used. The available space is bound to the instance disk.
- "S3 compatible storage": you can specify an S3 bucket by providing connection parameters.
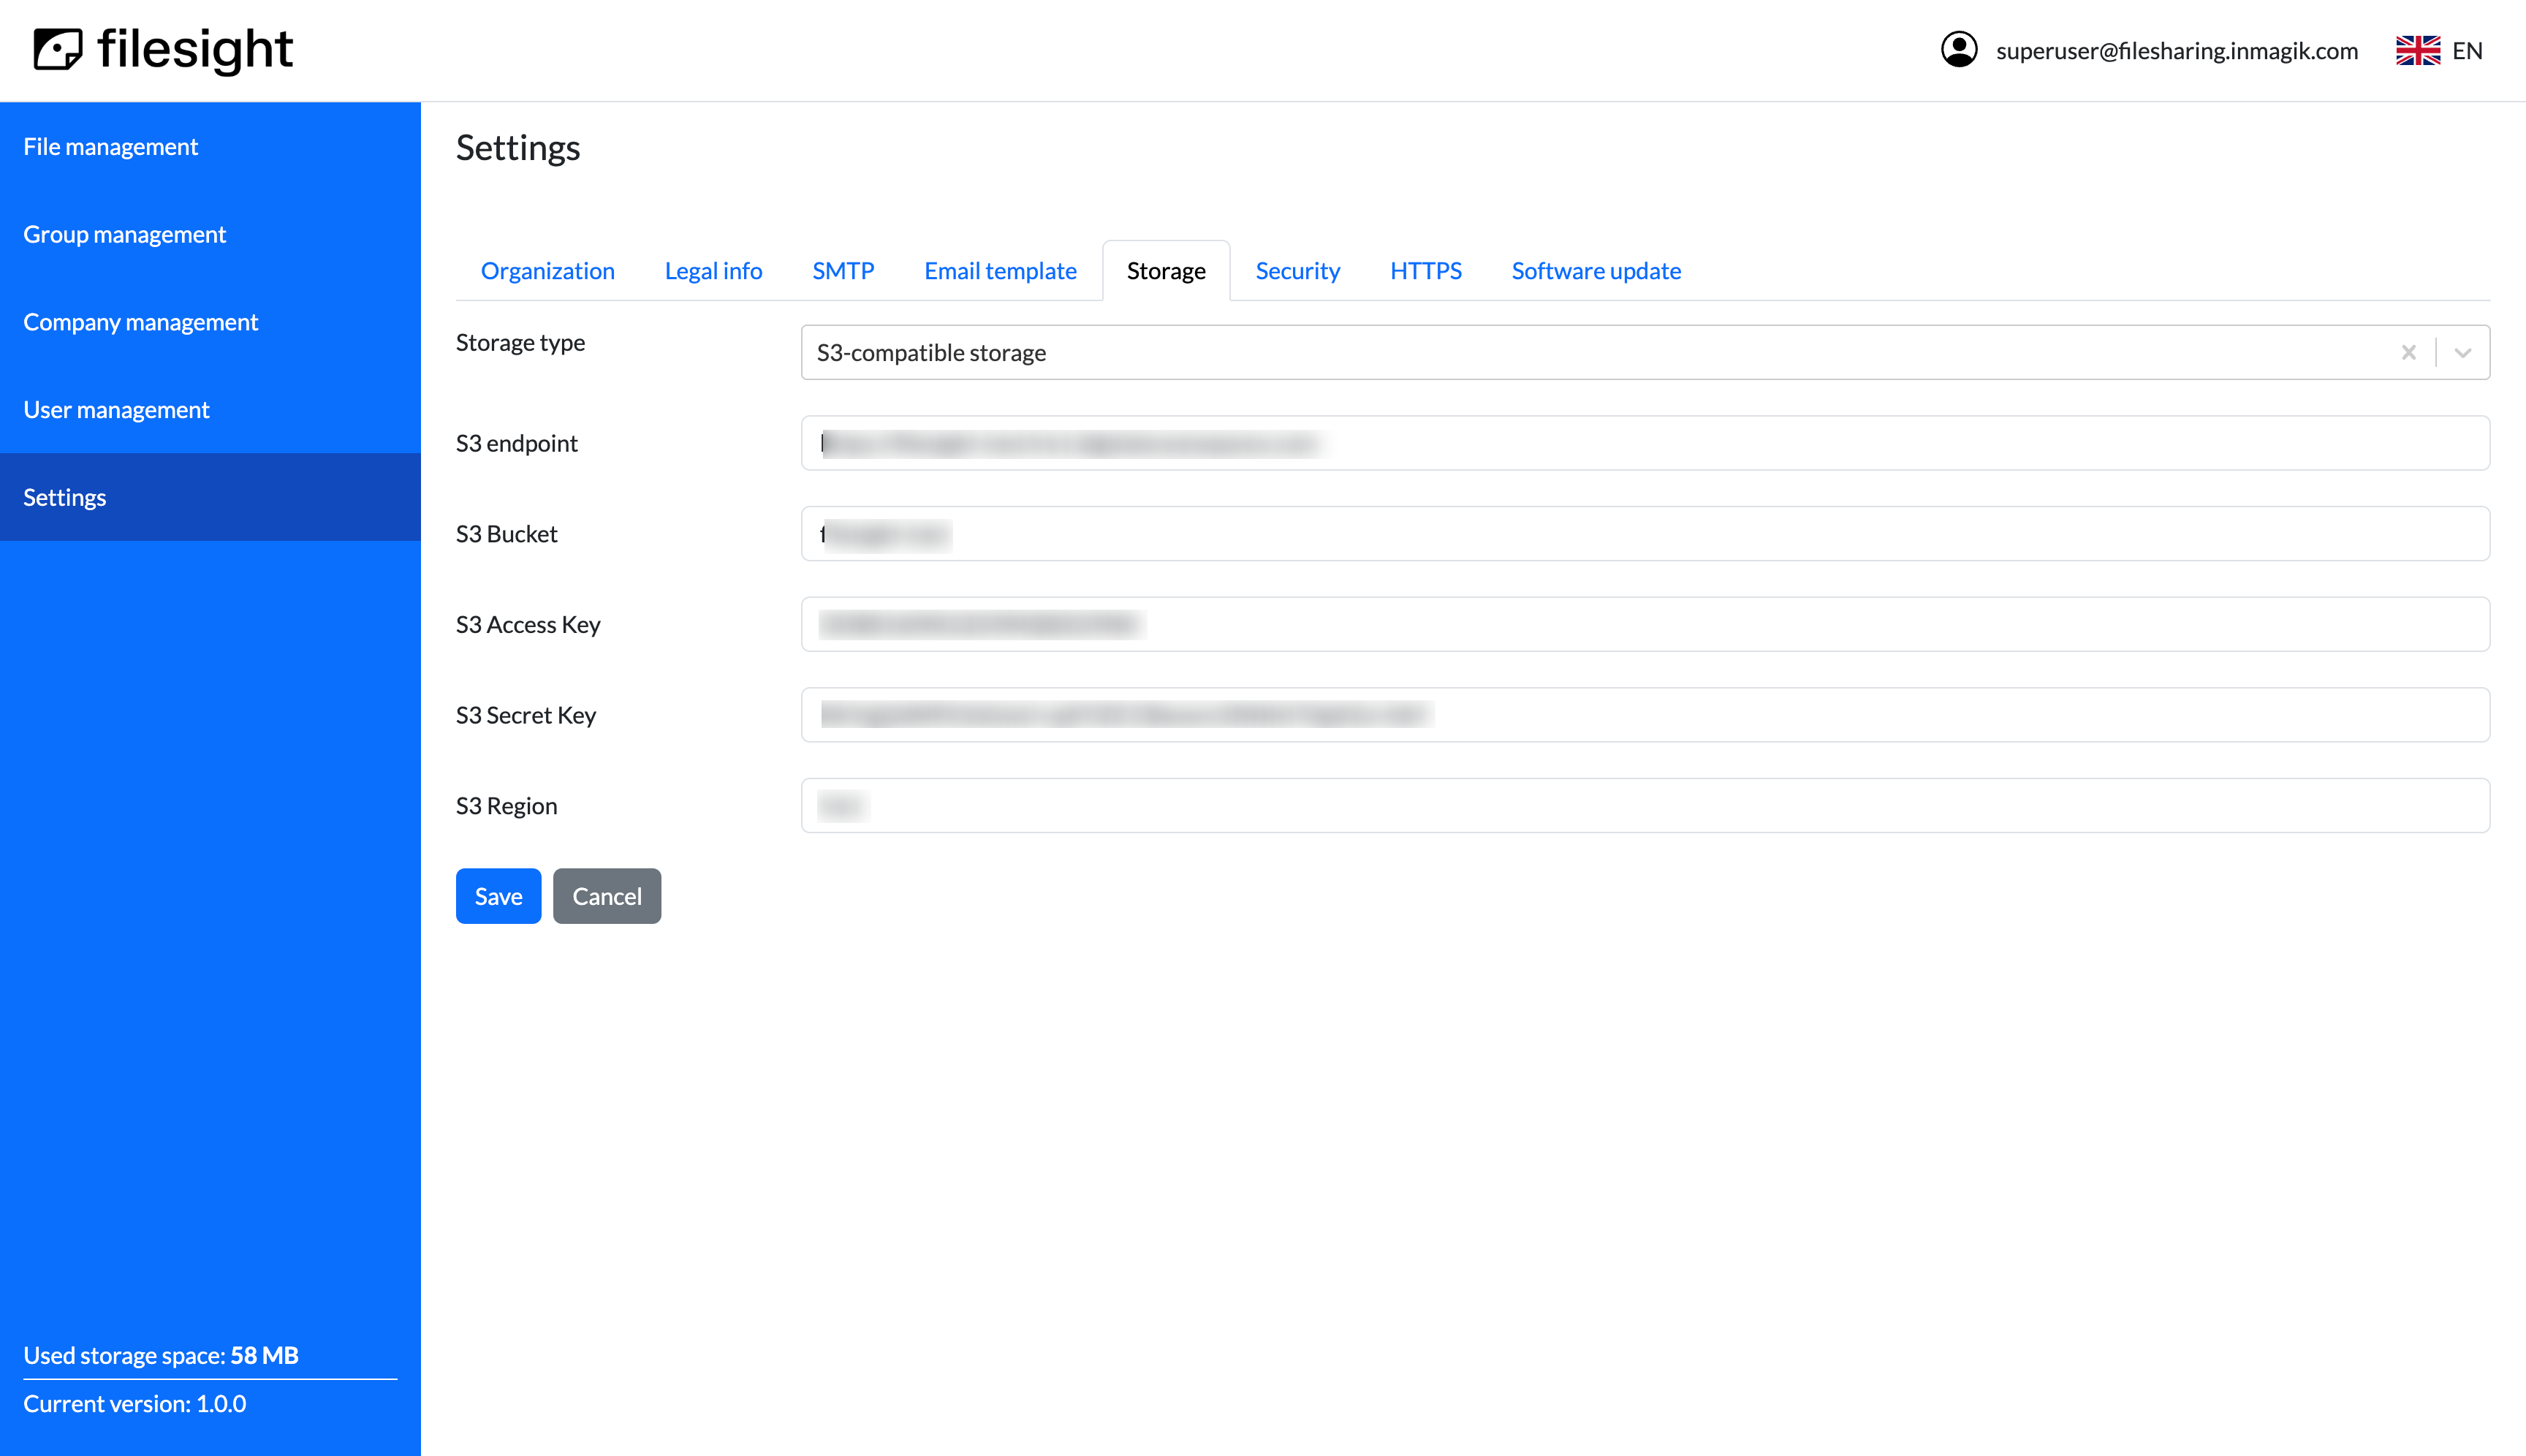
Info
You will be able to change your storage settings at any time. Refer to Storage configuration for more details.
Note
If you opt for S3-compatible storage, make sure that your bucket has the right CORS configuration in order to allow users access from the domain you configured for Filesight.
Email setup
To control email setup options, navigate to the "Settings" menu using the left menu bar, and configure the "Organization", "SMTP", and "Email templates" tabs. Refer to the related configuration sections for more details.
Info
You will be able to change your email settings at any time. Refer to the Configuration section for more details.
Https setup
This section allows you to set up an automatic HTTPS certificate for your Filesight instance. Certificates are provided by Let's Encrypt, a nonprofit providing free certificates. Note that in order to obtain a valid certificate you will have to own the domain you are choosing and be able to point your DNS records to the Filesight instance.
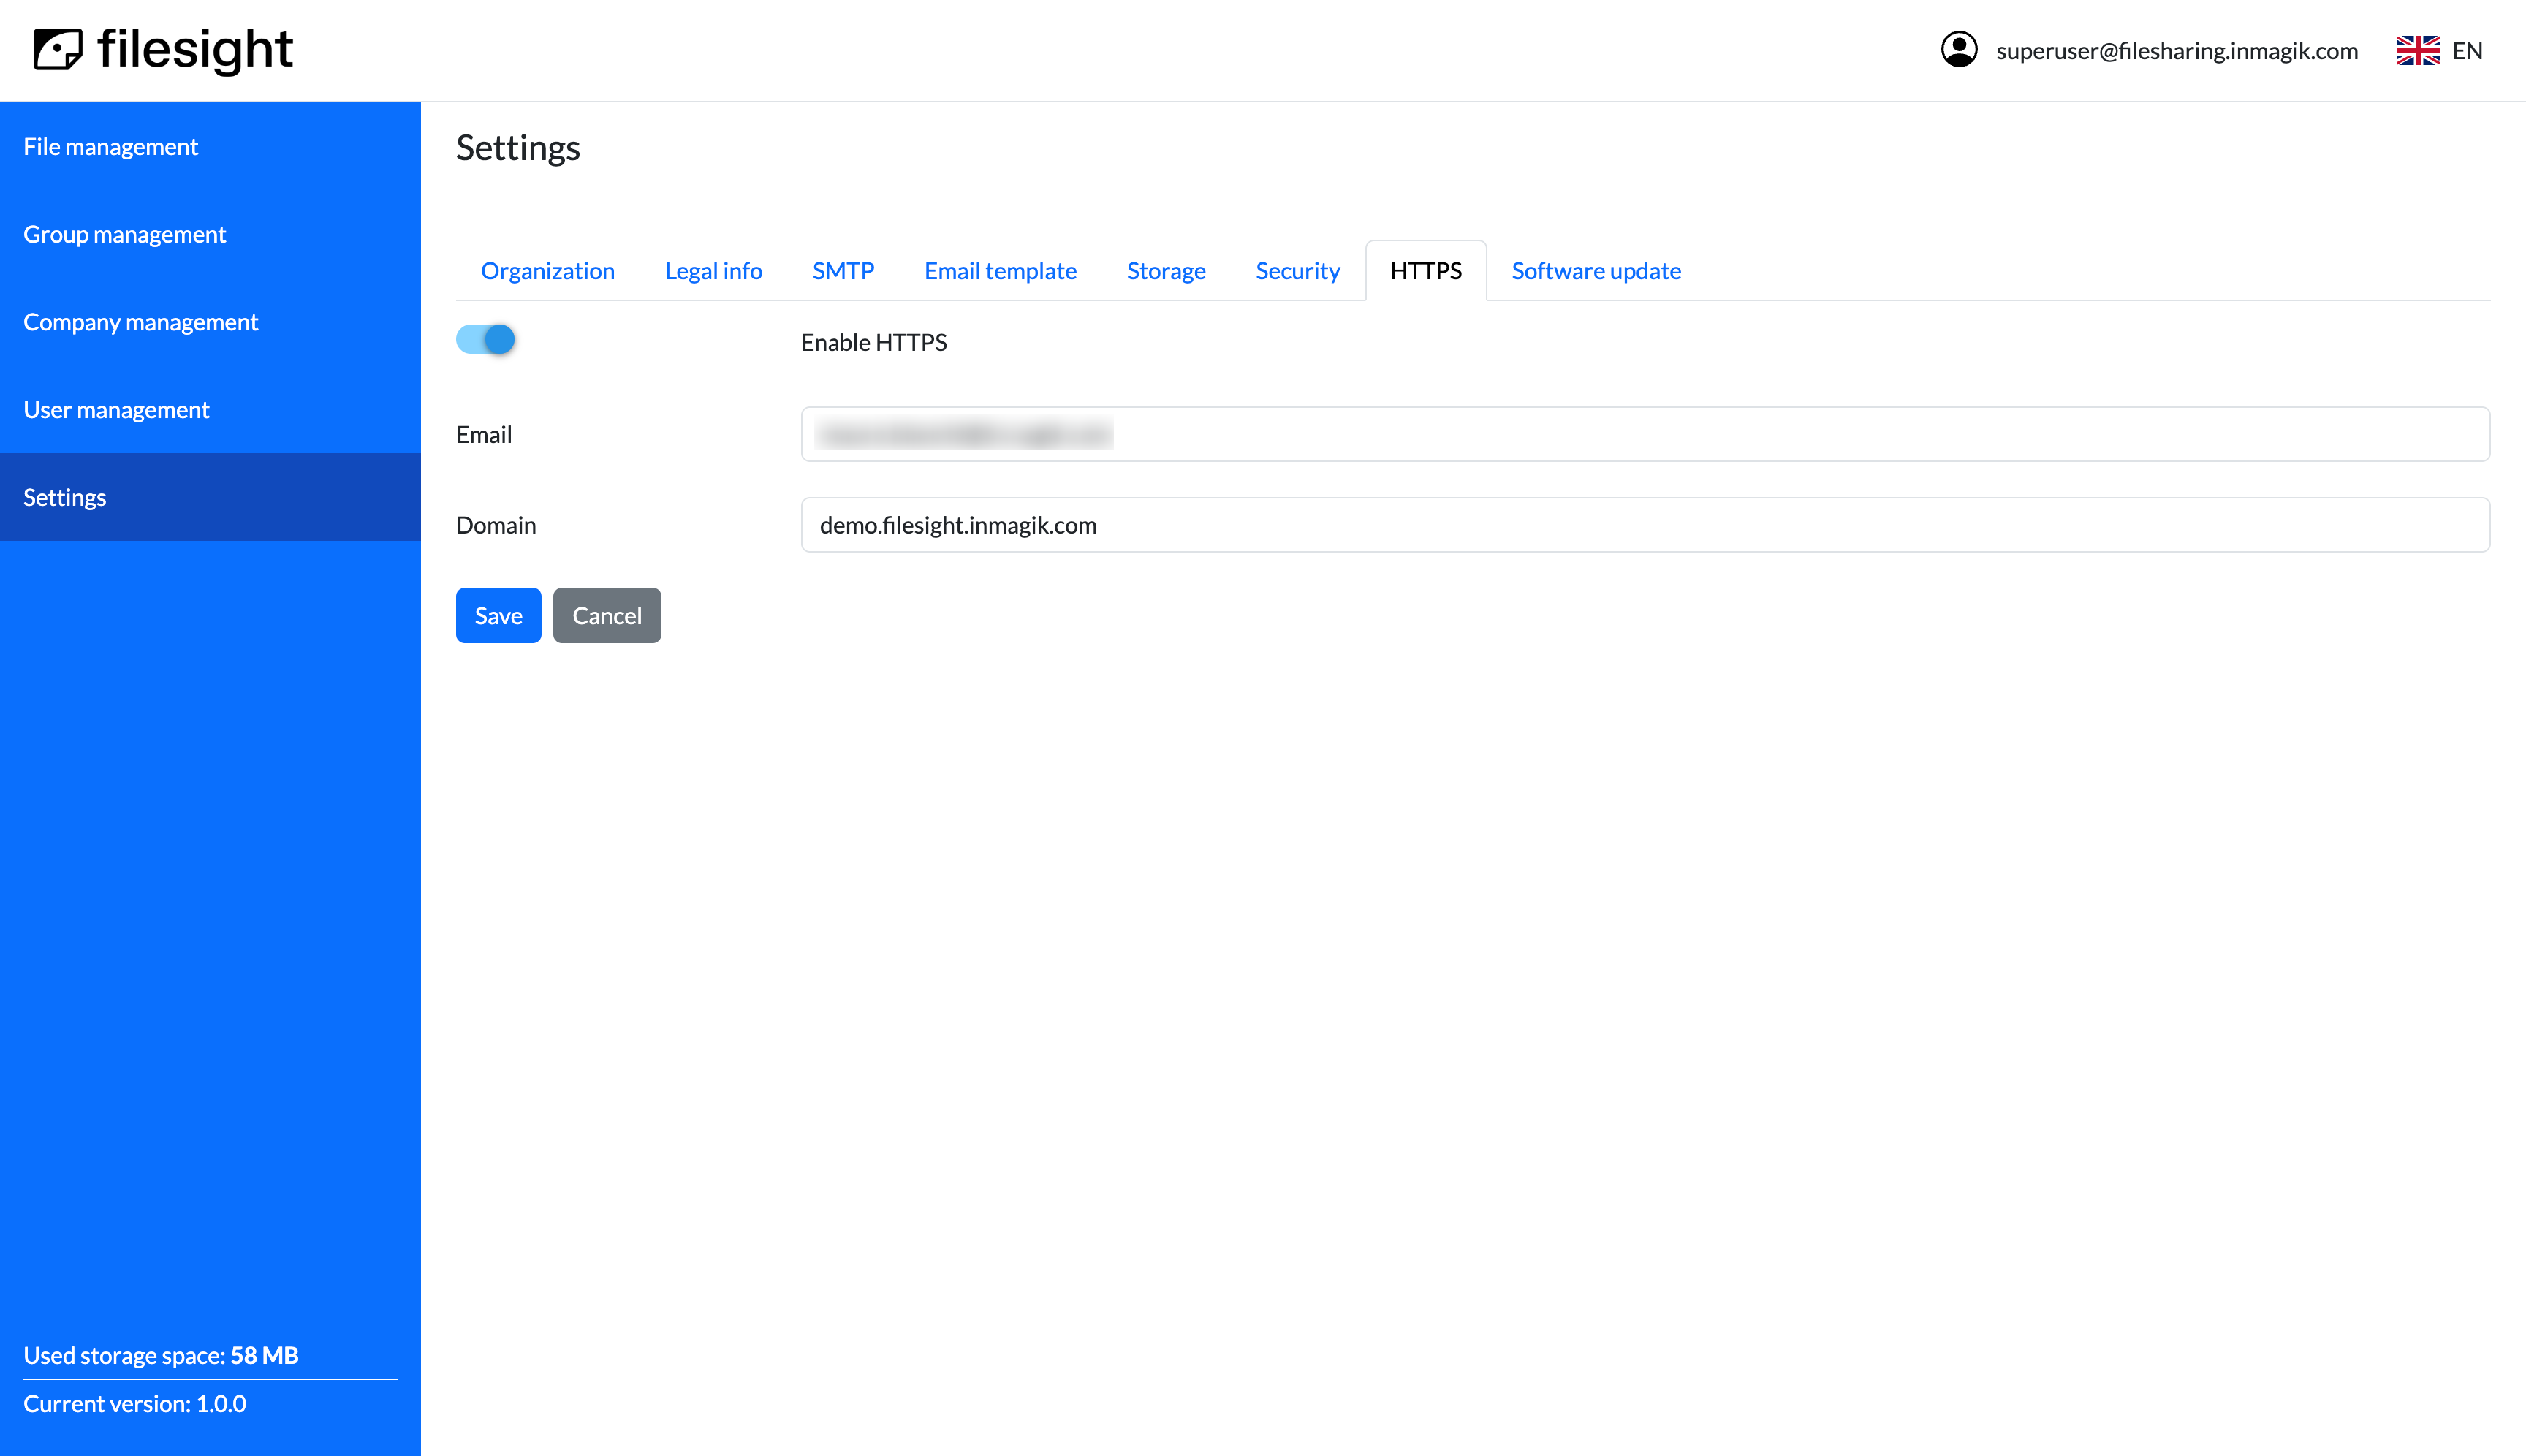
Info
You will be able to change your HTTPS settings at any time. Refer to HTTPS configuration for more details.
Legal info
You can optionally upload a document containing terms and conditions, privacy policy, or other information that your users must accept before obtaining access to Filesight. If you provide this document: - Users onboarding the platform via the invitation link available on user creation will have to accept the terms (by clicking a checkbox on the registration form) - Users will be able to see this document from their profile page in Filesight.
Info
You will be able to change your legal info settings at any time. Refer to legal info configuration for more details.